Introduction
本稿では、Alexander Mock氏の Image Perception Packageのインストールに必要なROSとBoost C++ Librariesをインストールします。以下のリストの順に説明します。
- ROS
- ROS Noetic Binary Package Installation
- ROS 2 Foxy Binary Package Installation
- Creating a ROS Command Window Terminal
- Using the new Windows Terminal (ex. PowerShell)
- Boost C++ Libraries
これらは、PLY File Import/Exportで使用予定のツールの一部です。それでは、参りましょう。
ROS
ROSとは Robot Operating System を指します。Robotのソフトウェアプログラムを目的としたツールセットです。Image Perception Packageの必須ツールですので、インストールをお勧めします。
ROSにはROS NoeticとROS 2 Foxyが有り、Image Perception Packageに必要なツールはROS Noeticのみの様です。ここでは、試しに両方ともインストールしておきます。
ROS Noetic Binary Package Installation
本稿では、www.ros.org がサイトで紹介するDesktop_Full Metapackageのインストールを実行します。
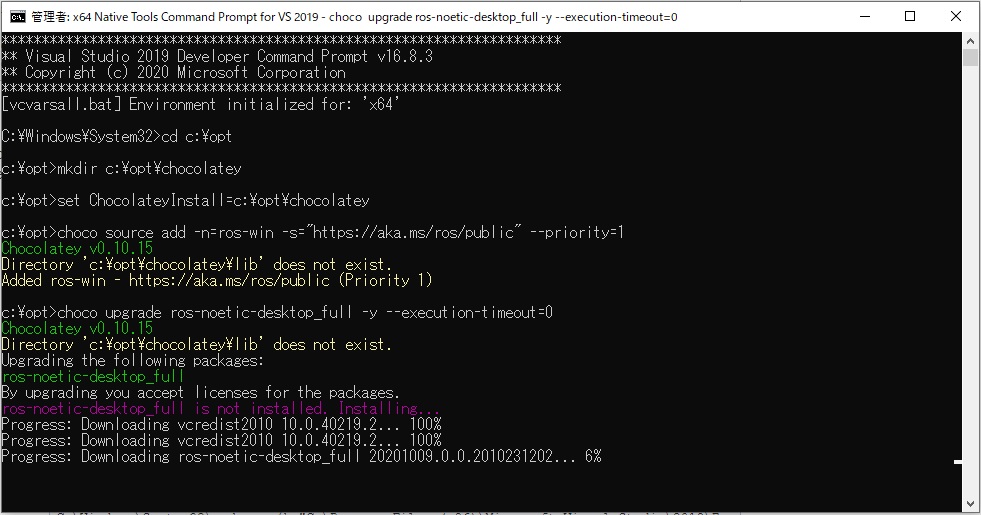
先ず、Visual Studio Command Prompt を管理者権限で起動します。
起動したところで、以下の4行のコマンドを実行します。
 mkdir c:\opt\chocolatey
 set ChocolateyInstall=c:\opt\chocolatey
 choco source add -n=ros-win -s="https://aka.ms/ros/public" --priority=1
 choco upgrade ros-noetic-desktop_full -y --execution-timeout=0
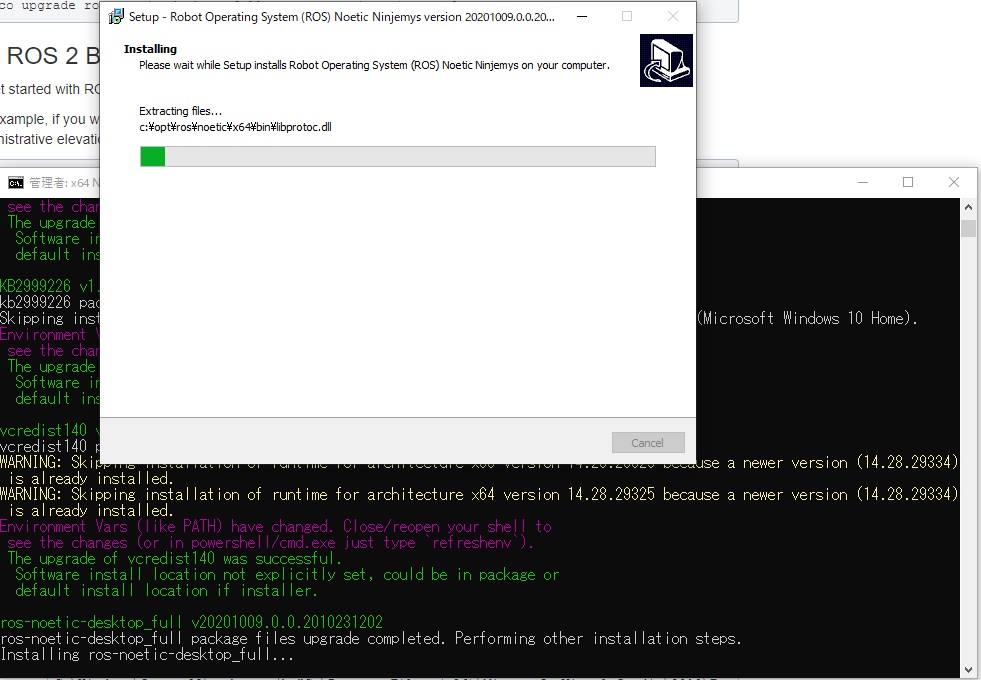
ROSのアップグレード中にWindowがPop-upします。巨大なツールですから、インストールには時間が掛かります。
正常に終了すると、インストール完了です。
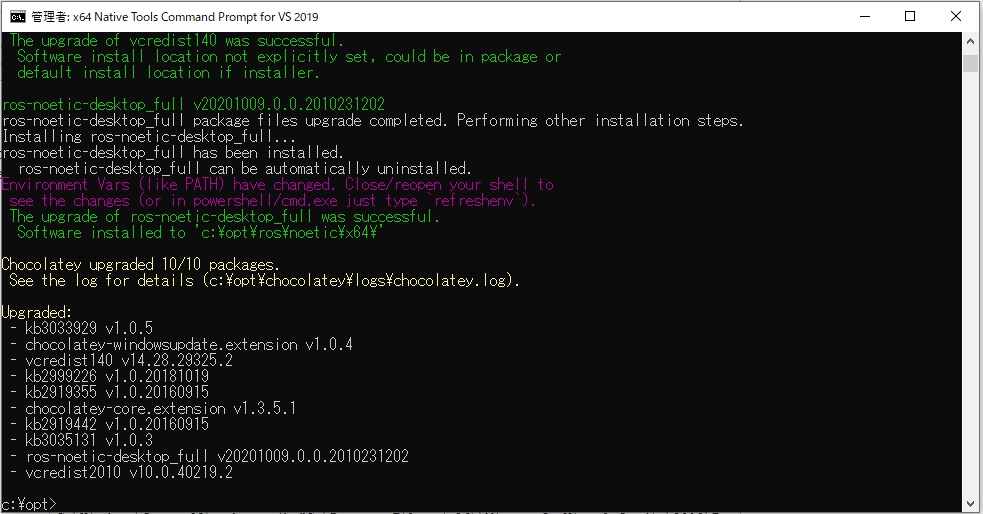
ROS Noeticのみのサイズで5.84GBになります。ハードディスクには余裕を持ちましょう。
ROS 2 Foxy Binary Package Installation
ROS Noetic Binary Packageのインストールが完了したところで、以下のコマンドを実行すると、ROS 2 Foxy Binary Packageがインストールされます。
choco upgrade ros-foxy-desktop -y --execution-timeout=0
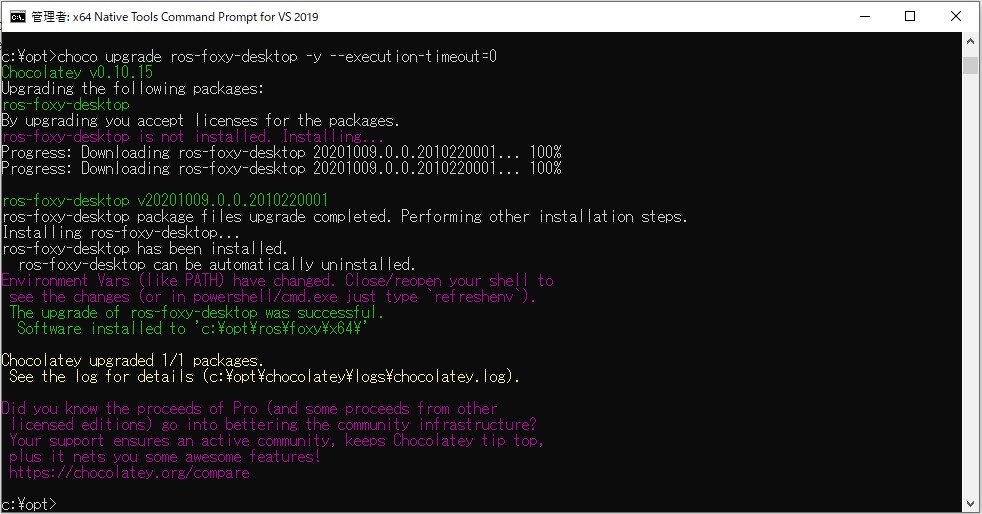
インストールが無事に終了したところで、完了です。
ROS Foxyのフォルダーサイズは4.5GBとなっており、C:\optフォルダーのサイズが13GBです。
C:ドライブがヤバイ。
Creating a ROS Command Window Terminal
ROSを使用する際に、コマンドプロンプトからROSセットアップスクリプトを実行する必要が在ります。コマンドプロンプトを開く際に、自動的にスクリプトが実行されると便利ではないでしょうか?
ここでは、ROS Noeticのコマンドプロンプトのショートカットを作成しました。
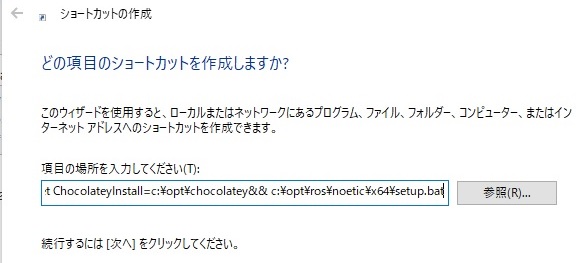
先ず、Windowsデスクトップの新規作成から、ショートカットを作成します。
項目の場所には、Installation/Windows – ROS Wiki で用意されたスクリプトをコピーして貼り付けます。
C:\Windows\System32\cmd.exe /k "C:\Program Files (x86)\Microsoft Visual Studio\2019\Community\Common7\Tools\VsDevCmd.bat" -arch=amd64 -host_arch=amd64&& set ChocolateyInstall=c:\opt\chocolatey&& c:\opt\ros\noetic\x64\setup.bat
僕の場合は、e:ドライブにVisual Studioをインストールしていますので、そこは変更します。
ショートカット名はROSとしました。

次に、作成したショートカットのプロパティを編集します。詳細設定から「管理者として実行」にチェックを入れ、ROSを管理者権限で実行するように設定しました。
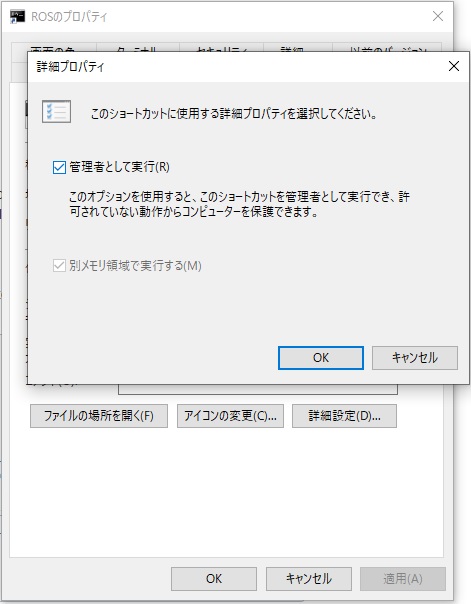
以上で、ROS Terminal Command Promptのショートカット作成は完了です。
Using the new Windows Terminal (ex. PowerShell)
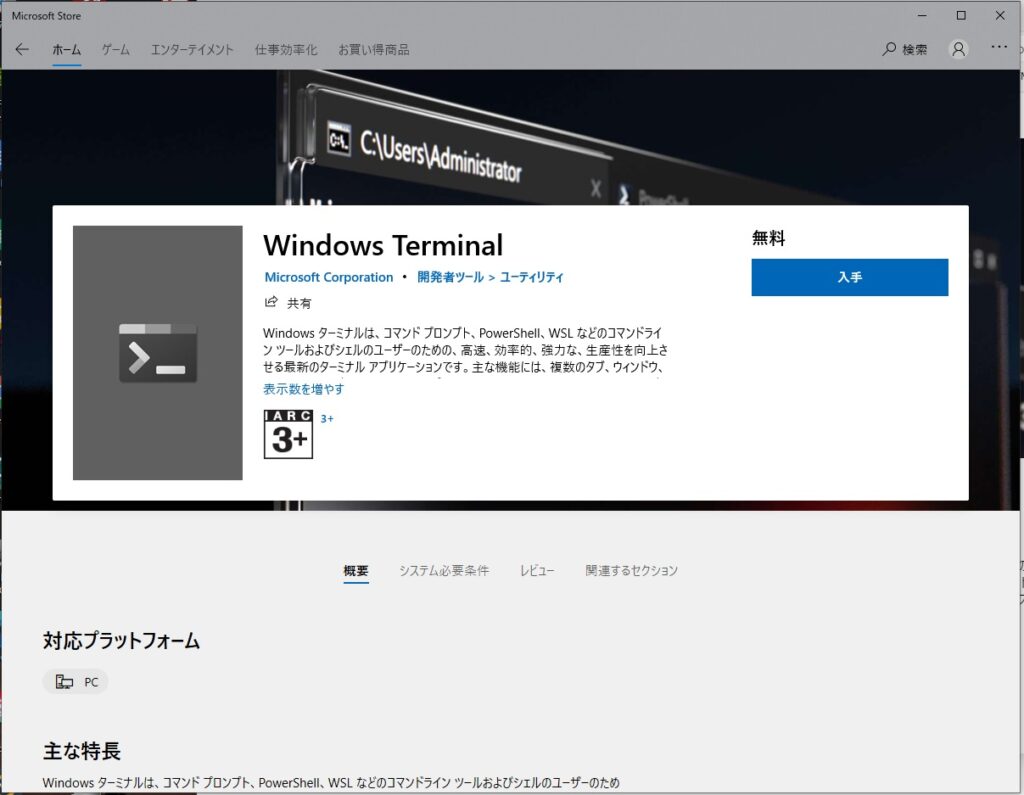
新しいWindows Terminalがリリースされており、Documentation – ROS Wikiでは、ROSターミナルの設定が解説されています。
先ず、open source terminal for Windowsでアプリを入力して、インストールします。
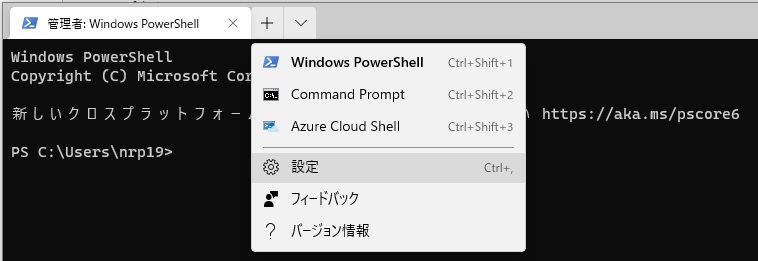
インストール後に管理者権限で起動して、「∨」マークより設定を選択しますと、Visual Studio Editorが起動します。
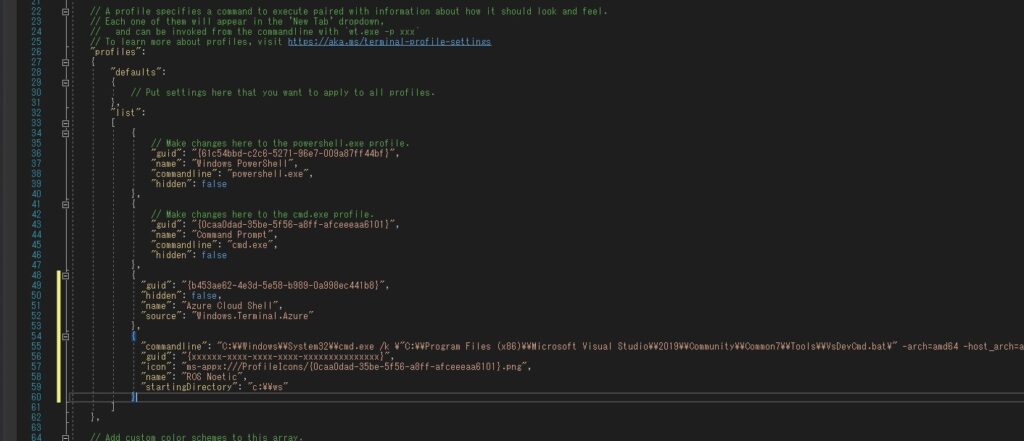
Editor中のリストから「profiles」セクションを探出し、以下の赤字部をコピーして貼り付けます。
     "profiles" :
     {
         list:
         [
             ...
             {
                 "commandline" : "C:\\Windows\\System32\\cmd.exe /k \"C:\\Program Files (x86)\\Microsoft Visual Studio\\2019\\Community\\Common7\\Tools\\VsDevCmd.bat\" -arch=amd64 -host_arch=amd64 && set ChocolateyInstall=c:\\opt\\chocolatey&& c:\\opt\\ros\\noetic\\x64\\setup.bat",
                 "guid" : "{xxxxxx-xxxx-xxxx-xxxx-xxxxxxxxxxxxxxx}",
                 "icon" : "ms-appx:///ProfileIcons/{0caa0dad-35be-5f56-a8ff-afceeeaa6101}.png",
                 "name" : "ROS Noetic",
                 "startingDirectory" : "c:\\ws"
         },
旧Windows Terminal 設定時と同様に、e:ドライブにVisual Studioをインストールしていますので、そこは変更します。
続いて、Visual Studio Command Promptにて「uuidgen」を実行して、 globally unique identifier (aka universally unique identifier)を取得します。
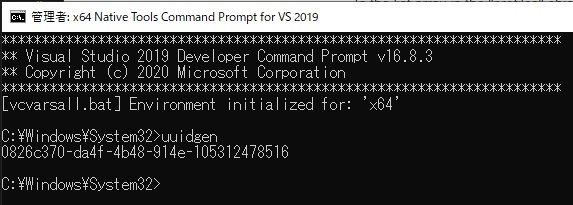
ここで、GUIDが表示されます。
xxxxxx-xxxx-xxxx-xxxx-xxxxxxxxxxxxxxx(アルファベットと数字です)
これをコピーして、
"guid" : "{xxxxxx-xxxx-xxxx-xxxx-xxxxxxxxxxxxxxx}"
の「xx」部分に貼り付けて、保存して閉じます。

以上の設定プロセスはInstallation/Windows – ROS Wikiの6.1 Using the new Windows Terminalに詳細に記載されています。
試しにnew ROS Terminalを起動してみます。
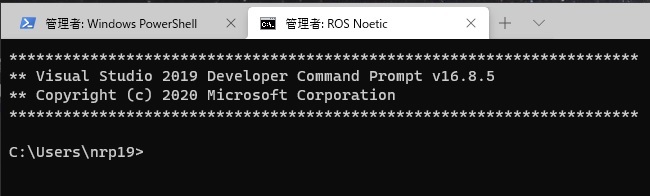
先ずは、管理者権限でnew Windows Terminalを起動します。その後、「∨」マークよりROS Noeticを選択しますと,
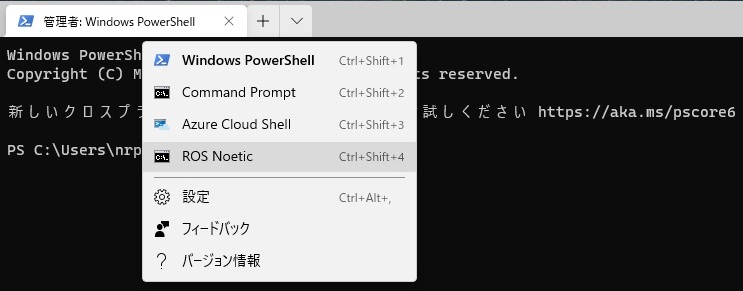
新しいタブでROS Terminalが起動します。
ROSの使い方は、将来探って行きます。
Boost C++ Libraries
Boost C++ Librariesとは、ISO標準のC++ライブラリに対する補強と捉えています。詳しくはBoost C++ Librariesをご覧ください。
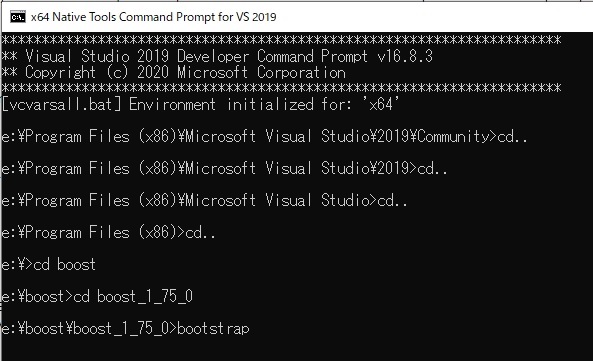
入手/インストールは簡単です。先ず、Zipファイルをダウンロードして、展開しておきます。
次に、Visual Studio Command Promptから、「bootstrap」「.\b2」の2つのコマンドを順に実行します。
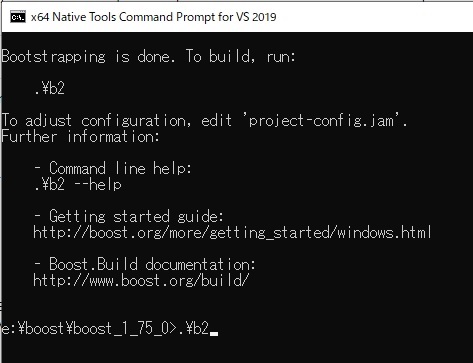
無事に終了すると、インストール完了です。
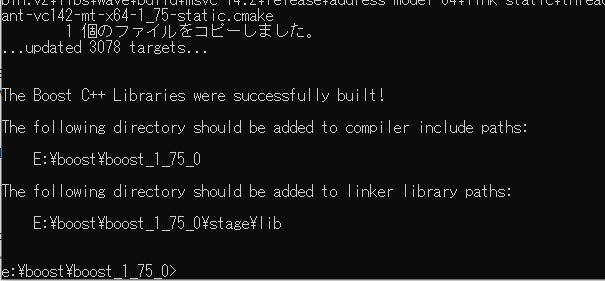
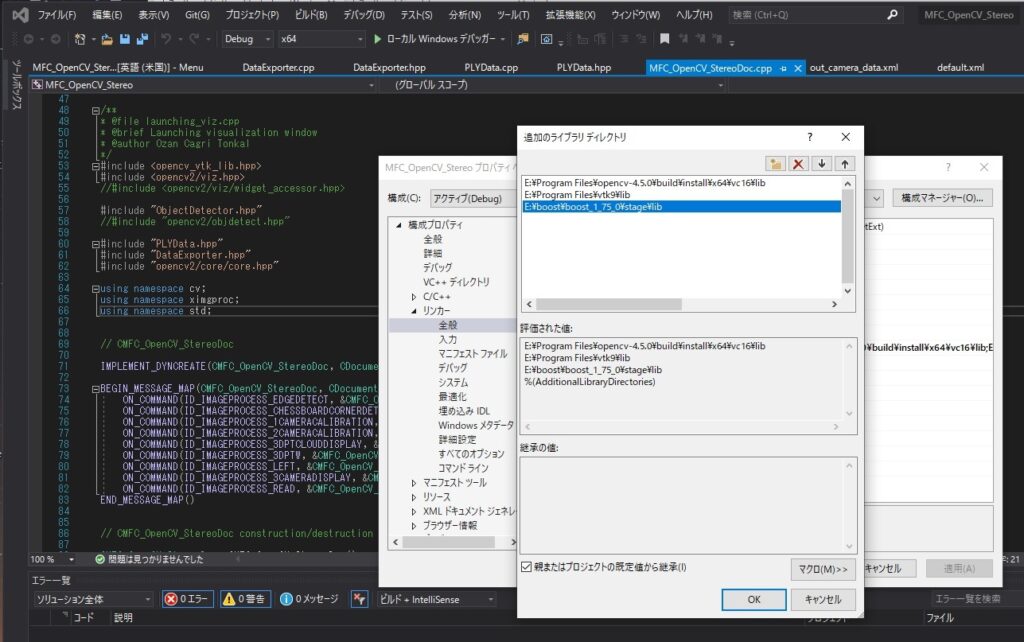
Boost C++ Libraries使用の際は、プロジェクト設定メニューにInclude DirectoryとLibrary Directory/Fileを登録して使いましょう。
Conclusion
如何でしたか。本稿では、Alexander Mock氏の Image Perception Packageのインストールに必要なROSとBoost C++ Libraryをインストールしました。これらは、PLY File Import/Exportで使用予定のツールの一部ですので、インストールをお勧めします。最後までお読みいただき、ありがとうございました。

コメント
この記事へのコメントはありません。