Introduction
本稿では、Qt5 DownloadとQt5 RebuildとQt5 Static Buildの手順を列記します。
- Qt5 Download
- Qt5 Rebuild
- Qt5 Static Build
それでは、参りましょう。
Qt5 Download
Qt Rebuildする際の必須条件は、完全にソースコードをダウンロードする事です。当り前の事ですが、これが極めて難しい様です。例えば、
fatal error: the remote end hung up unexpectedly
等が発生する事が有ります。この様な場合は、根気よく、何度も、完全にソースコードをダウンロード出来るまで繰り返す事になります。

ここでは一度、Qt5のダウンロードをやり直します。先ずは、コマンドプロンプトを起動して、Git repositoryからQtソースコードをダウンロードします。
クローンのコマンドは
(Command Prompt) > git clone git://code.qt.io/qt/qt5.git
で、クローン先のフォルダーは、
e.g. E:\Qt
「qt5」フォルダーは自動的に作成されます。

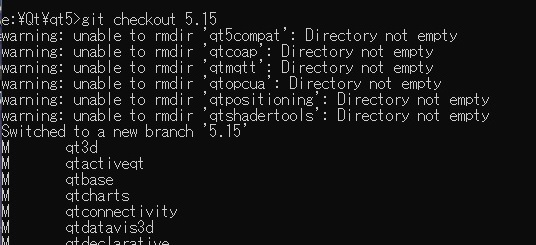
次に、バージョンをcheckoutします。コマンドは以下の通り、
(Command Prompt) > git checkout 5.15
このコマンドで実際にダウンロードされたバージョンは5.15.3(この時点での最新)です。

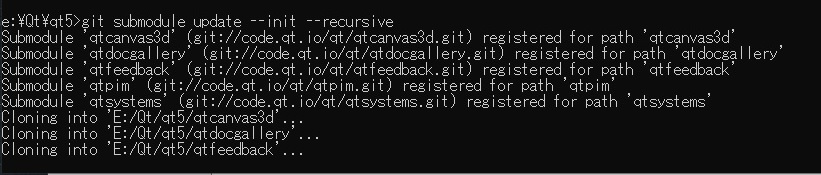
バージョンをcheckoutし終えたところで、submoduleをupdateします。コマンドは以下の通り、
(Command Prompt) > git submodule update --init --recursive
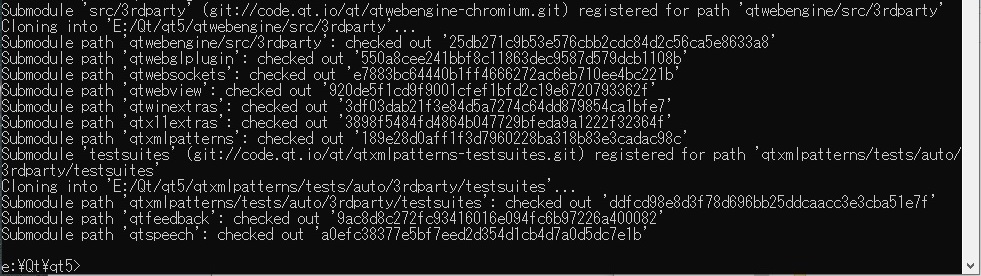
無事にダウンロードが完了すると、Qt5をビルド出来ます。もし仮に、通信障害等でダウンロードに失敗した場合は、最初からやり直しましょう。
Qt5 Rebuild
次に、Qt5のリビルドを試します。まず、qt5-buildファイルをqt5ファイル内に作成して、そこに移動し、予め作成しておいたバッチファイルを実行します。このバッチファイルについては、 https://hypermemorandum.com/qt-5-build/ にて解説しております。
バッチファイルを実行した後、Qt5のビルド設定を行います。使用したコマンドは以下の通り、
(Command Prompt)/qt5-build > e:\Qt\qt5\configure -developer-build -opensource -nomake examples -nomake tests -confirm-license -mp

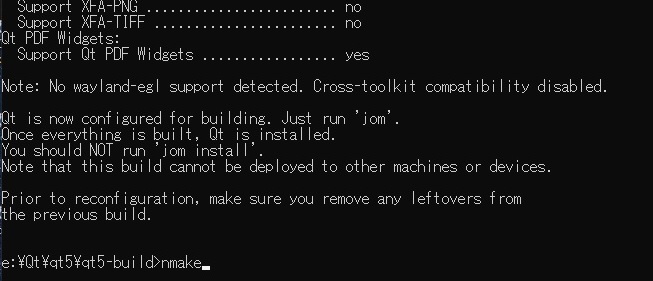
Qt5の設定が終った処で、nmakeを実行します。
(Command Prompt)/qt5-build > nmake
ビルドが無事に終了出来た事を確認しましょう。次はいよいよ、Qt5 Static Buildを行います。
Qt5 Static Build
Qt5 Static BuildはVisual Studio Add-inをインストールする上での必須項目です。ここでビルドしておきましょう。
先ずは、Qt5 Static Buildのビルド設定を行います。使用したコマンドは以下の通り、
(Command Prompt) > e:\Qt\qt5\configure.bat -developer-build -debug-and-release -opengl desktop -skip qttranslations -opensource -confirm-license -nomake tests -nomake examples -static -static-runtime -mp

Qt5 Static Buildの設定が終った処で、nmakeを実行します。
(Command Prompt) > nmake module-qtbase

ビルドが無事に終了出来た事を確認しましょう。完了出来ていれば、Visual Studio Add-inをインストール出来る事になります。
Conclusion
如何でしたか。本稿では、Qt5 DownloadとQt5 RebuildとQt5 Static Buildの手順を列記しました。最後までお読みいただき、ありがとうございました。

コメント
この記事へのコメントはありません。